Web Disk utility allows you to manage the files located on your server in multiple types of interfaces, such as computer, mobile device, etc.This tutorial will show you how to configure Web Disk on Windows 8:
1. Log into your cPanel, navigate to the Files section and click Web Disk: 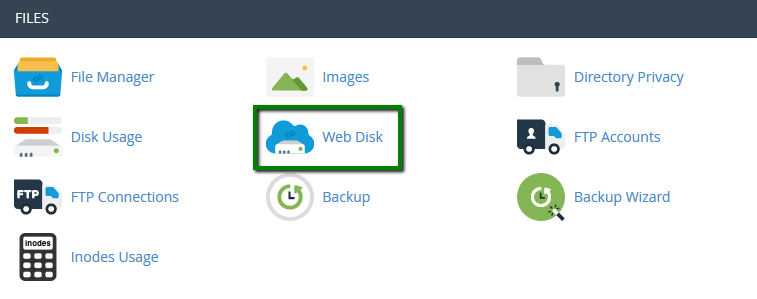
2. By default, the system creates a Web Disk account for your cPanel account. In order to access it, click the Access Web Disk button: 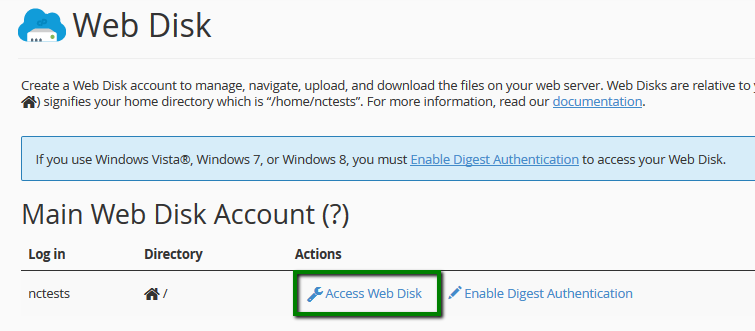
If you wish to create a Web Disk account for a specific directory, you can do it in the Create an Additional Web Disk Account section: 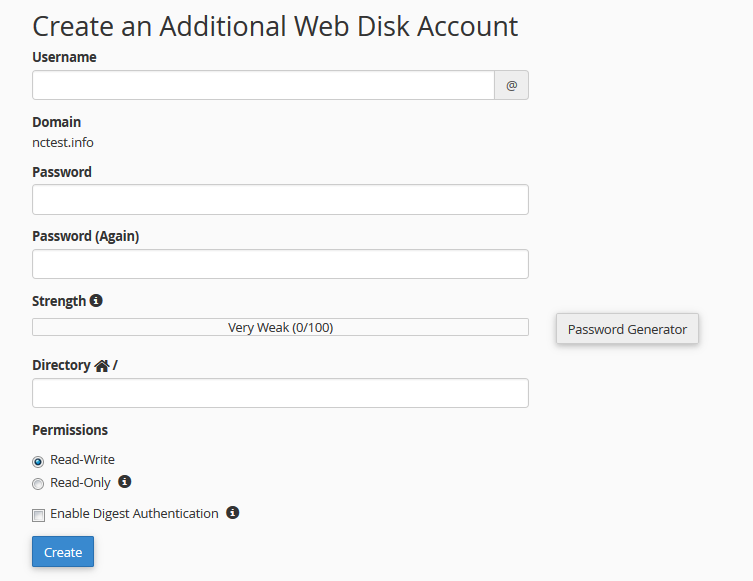
3. Once you access the needed account, choose Windows 8 from the corresponding drop-down menu: 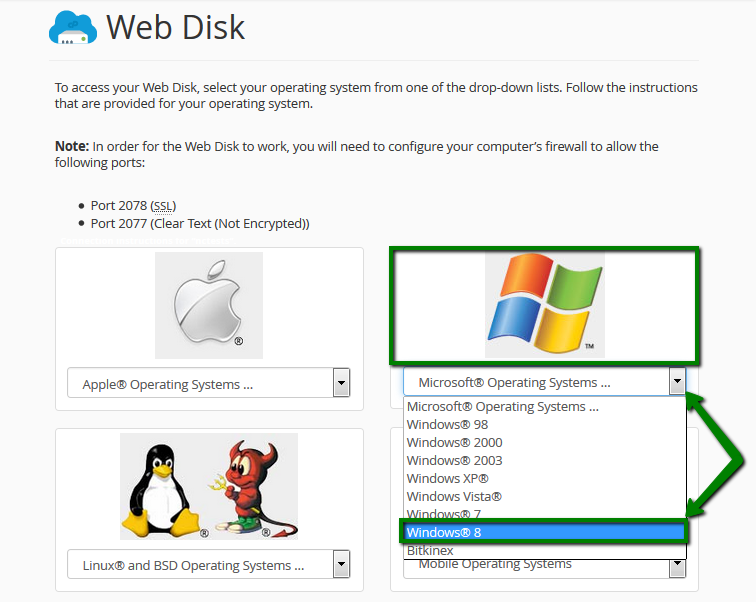
4. Once done, you can either download a quick start script or manually configure Web Disk on your device according to the provided steps. On Windows 8, it is recommended to proceed with the manual setup. Here are the steps to take:
- open Computer and click Add a network location:

- click Next, then Choose a custom network location:
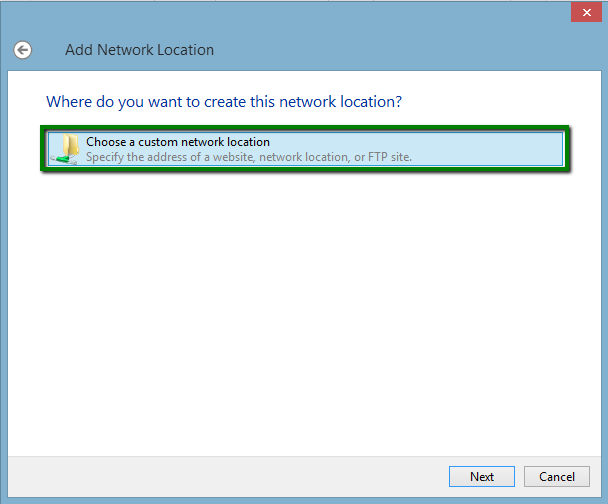
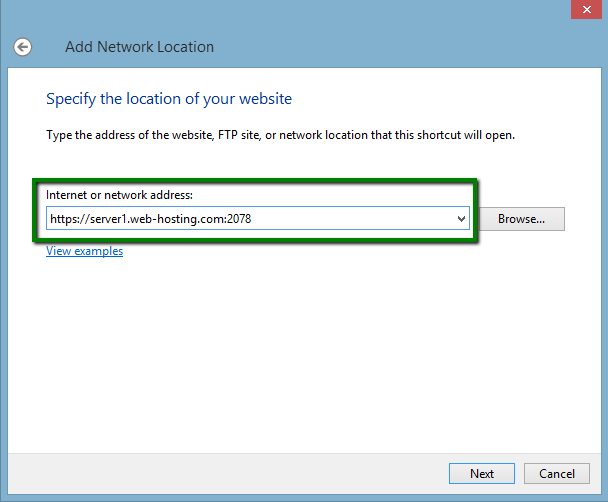
- insert the following address into the Internet or network address field:
- click Next:
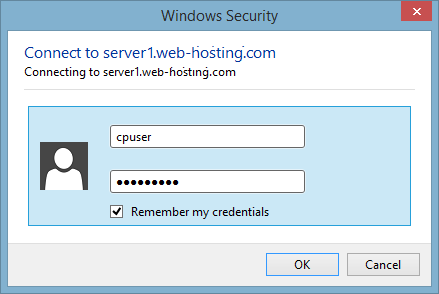
- insert your cPanel username and cPanel password into the corresponding fields and click OK.
- you will be asked to type a name for your network location. It can be any suitable name you wish to be displayed for your Web Disk account on your device. Click Next and then Finish.
- go back to Computer. You will find your network drive added, click on it – the list of your server files and folders will be displayed on the right.
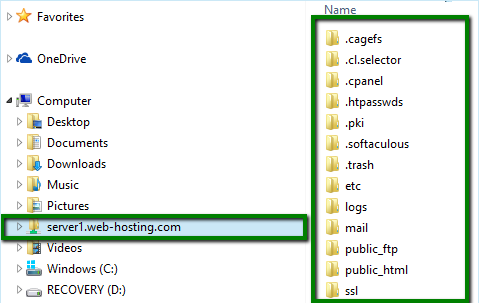
Now your Web Disk account is configured on Windows 8.
That's it!
Need any help? Contact us via Helpdesk