1. Using server Python environment
2. Using own Python virtual environment
2.1. Installing virtual environment
2.2. Installing custom Python modules with pip from virtualenv
2.3. Handy tips for virtualenv usage
1. Using server Python environment
All cPanel-based servers have Python installed which can be used for your website needs. You can check the installed Python version with the following command in SSH interface:
[nctests@server148 ~]$ python --version Python 2.6.6

Location of Python executable file:
[nctests@server148 ~]$ which python /usr/bin/python

In order to list all available modules you can use help command:
python -c "help('modules')" You should see the list of modules like this:
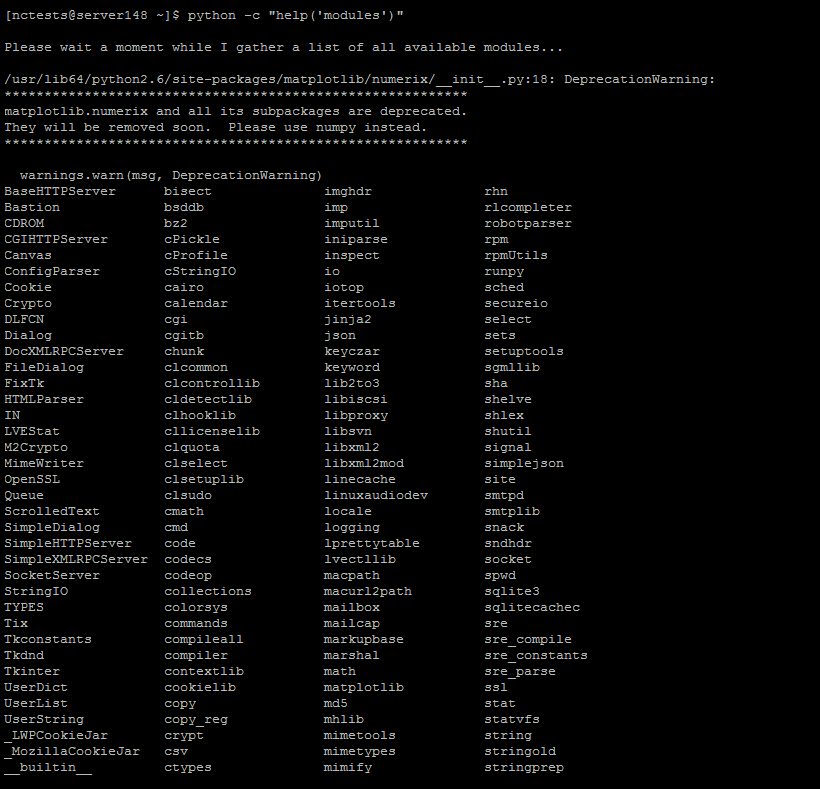
If this list contains all modules required by your script, then you should be able to run it without any issues at our server. You may refer to this guide for more information on how to run scripts.
However, if some modules you need are missing, it will not be impossible to install/update them at our shared servers globally since it will affect all shared users. We may suggest two solutions in such cases:
1. Upgrade your shared to one of the root-provided packages, such as self-managed VPS or Dedicated servers. There you can install any additional modules you need or even greater version of Python environment. Check this article for more information about the upgrade procedure.
2. Use virtualenv tool to create an isolated Python environment as shown in next part of this guide.
NOTE: Virtualenv allows you to create virtual environment of the same version as a server one, so it is not possible to get higher Python version using this method. The only way to get latest Python version is to upgrade to one of the packages with root-level access.
2. Using own Python virtual environment
The main purpose of Python virtual environment is to create an isolated environment for Python projects. This means that each project can have its own dependencies, regardless of what dependencies every other project has. However, at shared hosting this tool will also allow you to install additional modules which are not installed on the server globally.
2.1. Installing virtual environment
In order to set up your own virtual environment we suggest following these steps:
1. Since PIP is not available for shared server users, we will have to download the latest version of virtualenv and install it manually. Use link to source .tar.gz. archive from https://pypi.python.org/pypi/virtualenv/ and extract it to folder of your choice. We will use /home/cPuser folder in this guide.
For quick download and extract you can use the following command:
wget -r -A virtualenv*.tar.gz https://pypi.python.org/pypi/virtualenv/ && find ./pypi.python.org/ -iname 'virtualenv*.tar.gz' -exec tar -zxvf {} \; Command explanation:
wget -r -A virtualenv*.tar.gz https://pypi.python.org/pypi/virtualenv/ – will download virtualenv-VERSION.tar.gz file from the source page.
find . -iname 'virtualenv*.tar.gz' -exec tar -zxvf {} \; – will find the downloaded file and extract it to directory where you're at.
Alternatively you can use File Manager/FTP and extract/upload this file manually. In the end you should have folder with the extracted virtual environment like shown in the screenshot below:

2. Now in order to install virtual environment run virtualenv.py from this folder using target folder where you wish to have Python installed as an argument. For example, we will install our custom Python environment to /home/nctests/mypython/ folder with this command:
python ./virtualenv-15.1.0/virtualenv.py /home/$(whoami)/mypython
You should see the following messages and have new python/pip executables present in corresponding folder:

Python can be now started with the command like this:
/home/$(whoami)/mypython/bin/pythonNote, that in order to use it in your executable scripts, you should update path to Python by replacing default #!/usr/bin/python with the path to your custom python executable in virtual environment, in our case – #!/home/$(whoami)/mypython/bin/python.
2.2. Installing custom Python module with pip from virtualenv
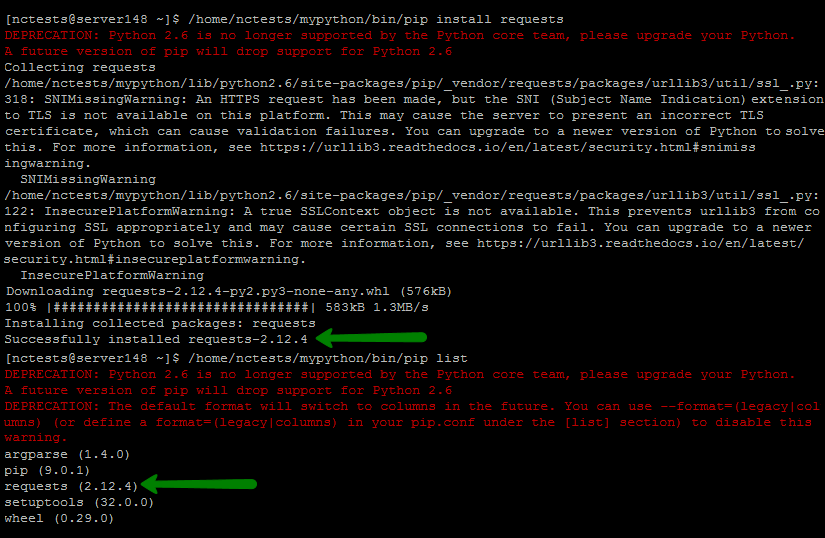
Virtualenv also contains its own pip installer which can be found at the same folder as Python executable, in our case it is located in /home/nctests/mypython/bin/pip directory.
With the help of pip you can install any additional modules you need to your virtual environment installation, for example, let's install requests module which is not included in the default modules list at our shared servers:
/home/$(whoami)/mypython/bin/pip install requests==2.12.4You should see Successfully installed message in the end:
In some cases Python modules (for example, Pillow) or their dependencies need to be compiled first. If you encounter any errors like unable to execute gcc: Permission denied, contact us via Live chat or Ticket system and we will temporary enable compiler for your account so that you will be able install it.
From now on you can import this module to any of your projects using this virtual environment.
NOTE : All server-wide installed modules can also be used by virtual python environment, so you do not need to install them with pip.
2.3. Handy tips for virtualenv usage
Virtualenv can certainly be of a great help, but it is not really convenient to use it out of box. The instructions below will help you to adjust your script and account settings for easy use at our shared servers.
Overriding default path to Python executable
Unless you are planning to use default server Python environment for separate projects, you probably don’t want to type full path to Python executable from the virtual environment each time.
You can easily overcome this inconvenience by adding path to bin folder of your virtual environment to shell $PATH variable:
PATH=/full/path/to/your/cutstom/python/bin:$PATHIn our particular case the command will look like this (note the : before $PATH):
PATH=/home/nctests/mypython/bin/:$PATHNow when running just python from CLI your virtualenv, Python will be used rather than server one:

However, this adjustment can be used only till the end of SSH session. In order to make it persistent, you will need to add it to your .bashrc file. You can do it manually with nano/vim/FileManager or by running the following command which will the add the necessary line to the end of .bashrc file:
echo "PATH=/home/nctests/mypython/bin/:$PATH" >> ~/.bashrc && source ~/.bashrcOnce done, $PATH will be adjusted at the start of every SSH session.
Also, after doing this you will be able to use just pip command instead of full path, since pip executable is also present in the same folder.
Replacing path to environment in your project files
Of course, you can adjust all your files manually, but what if you have more than a couple of executable Python files in your project, or even worse – if you do not know whether such files present or not. With the following command you can easily find all files containing #!/usr/bin/python line and adjust it correspondingly:
find ./public_html/ -iname '*.py' -exec sed -i "s|^\#\!/usr/bin/python|\#\!/home/nctests/mypython/bin/python|" {} \; Command explanation:
find ./public_html/ -iname '*.py' -exec sed -i "s|^\#\!/usr/bin/python|\#\!/home/nctests/mypython/bin/python|" {} \; – will find all .py files in /home/nctests/public_html/ folder. If needed, replace this path with your actual folder where python project is stored.
-exec sed -i "s|^\#\!/usr/bin/python|\#\!/home/nctests/mypython/bin/python|" {} \; – to each found .py file this command will apply replacing of fist found #!/usr/bin/python line with new path, in our example it is /home/nctests/mypython/bin/python. Make sure that you adjust target the path according to your actual path to virtualenv Python executable.
That's it!
Need any help? Contact our HelpDesk