How to change the version of PHP environment on the server
How to adjust PHP settings/limits
How to install and enable a custom PHP module
How to change the version of PHP environment on the server
You can change the PHP version on the server using the EasyApache (Apache Update) module located in the WHM left-hand menu.
NOTE: If you have a fully managed VPS/Dedicated server, contact our technicians for assistance with the PHP version update.
1. Back up your current installation via the Download button and start the configuration process via the Customize profile option: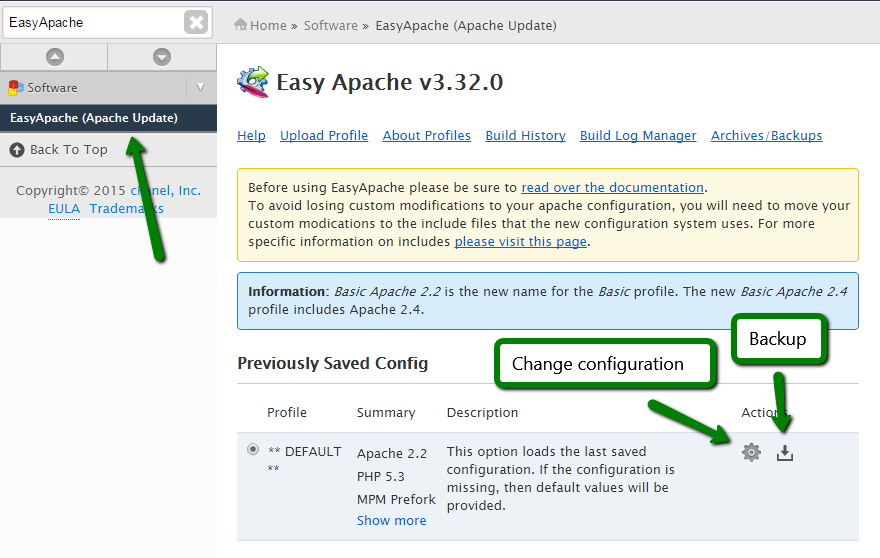
2. Select Apache version for a new configuration build. The selection affects the number of available PHP modules and some specific settings, so keep the default value if you just want to change the PHP version: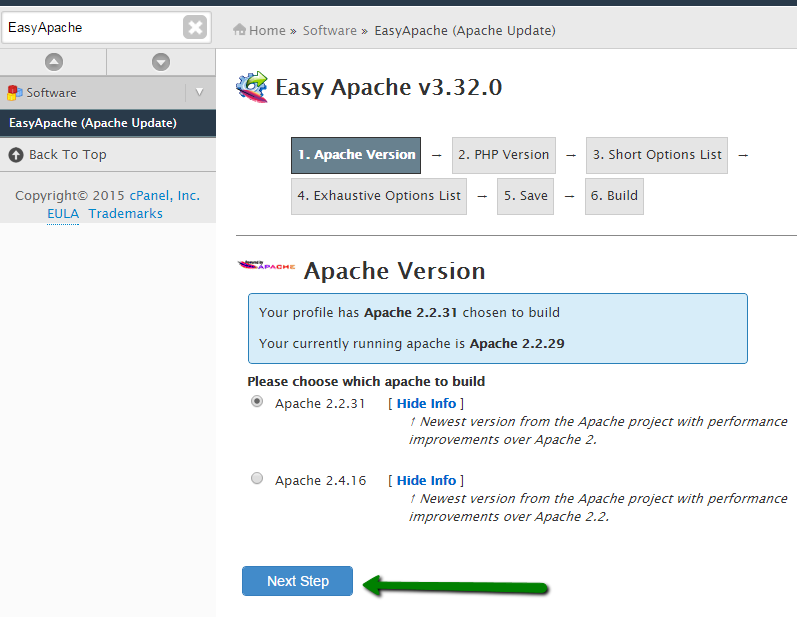
3. Then you can select the PHP version you need. If the desired PHP version is not present in the selection list, make sure you have the latest cPanel version and update it if necessary:
4. Finally, you can select additional web server modules which should be added to the web server configuration.
Keep the default selection if you are unsure whether you need additional modules or not - you can always rebuild the configuration again if needed. Click Save and build to finish the configuration process: 
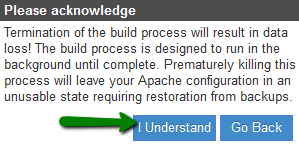
5. Read carefully messages in the next two pop-up windows and proceed with the rebuild: 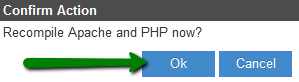
6. Wait till the rebuilding process is finished, it may take some time depending on the options you selected: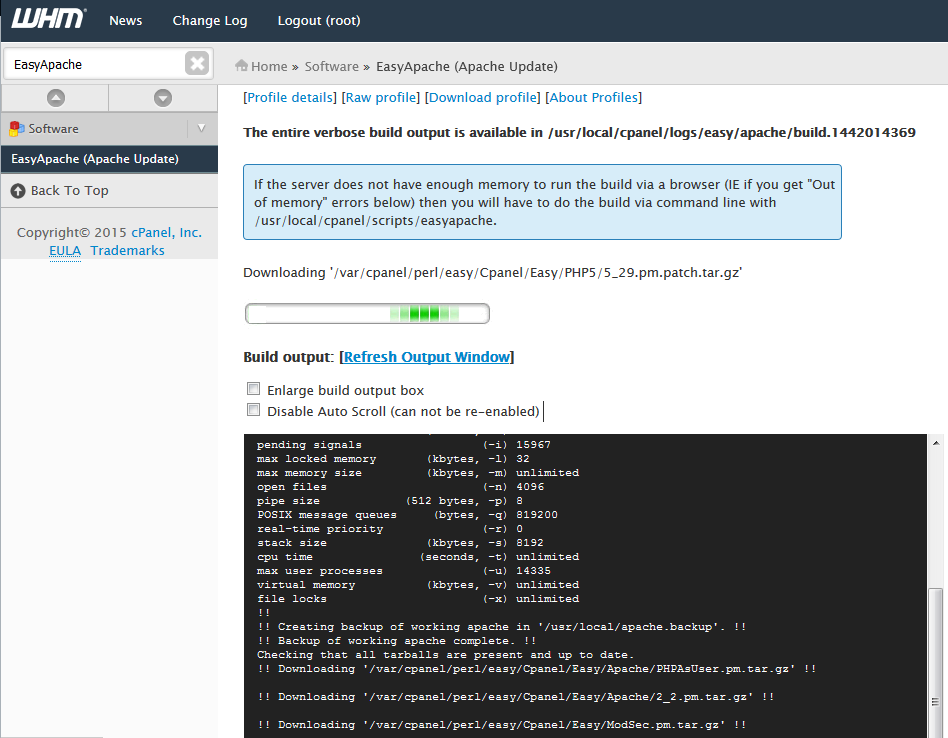
NOTE: Do not interrupt the process as you will have to start from the beginning meanwhile your websites could have gone offline because of the unfinished configuration.
7. You should see the Build complete message in the end: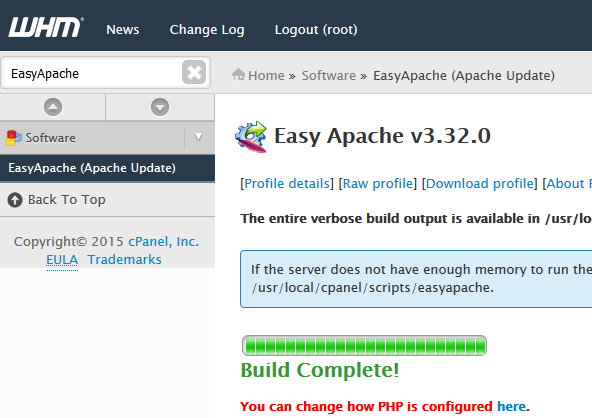
That’s all, your server is now running with the PHP environment version of your choosing.
How to adjust PHP settings/limits
You can edit the general server PHP configuration in two possible ways.
NOTE: If you have a fully managed VPS/Dedicated server, please contact our technicians for assistance with the configuration change.
1. A preferable and safe way is to use the WHM > PHP Configuration Editor menu: 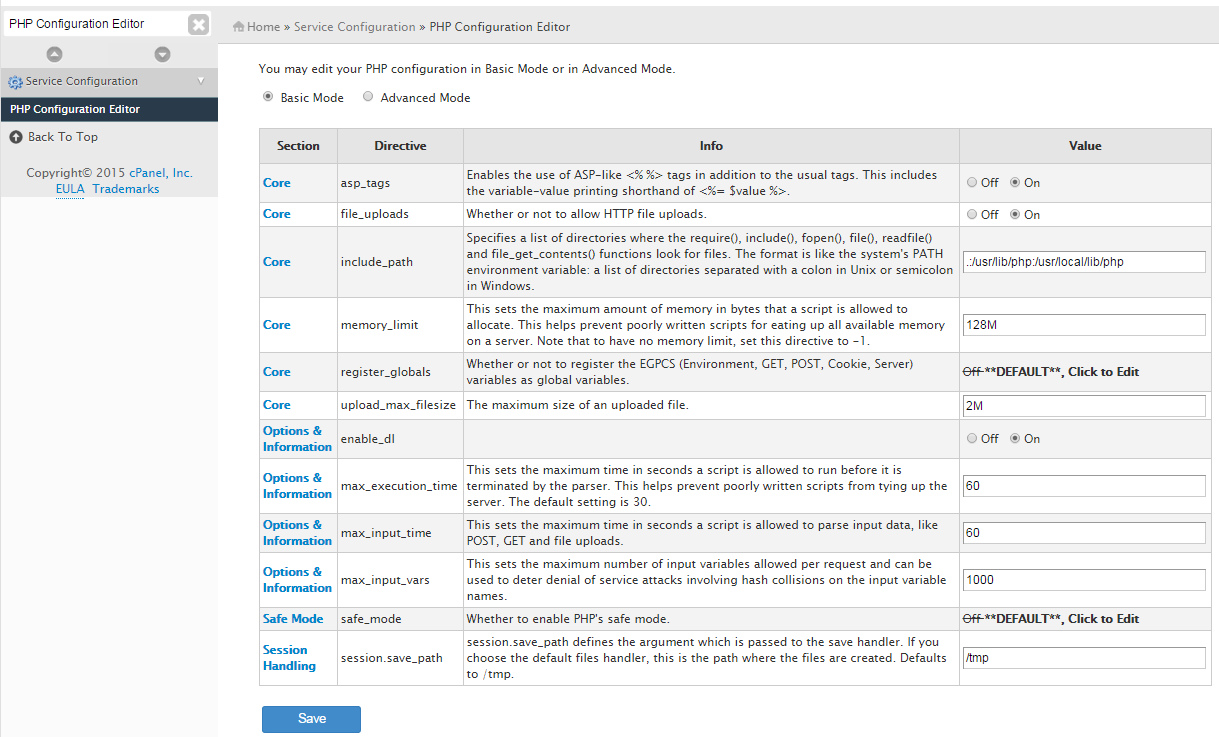
Basic Mode allows editing only commonly changed parameters, so if you want to change some specific settings, switch to Advanced Mode instead.
Once you are done with the changes, click Save. You will then be redirected to the page where you can check the new global php.ini which is created as a result of your changes: 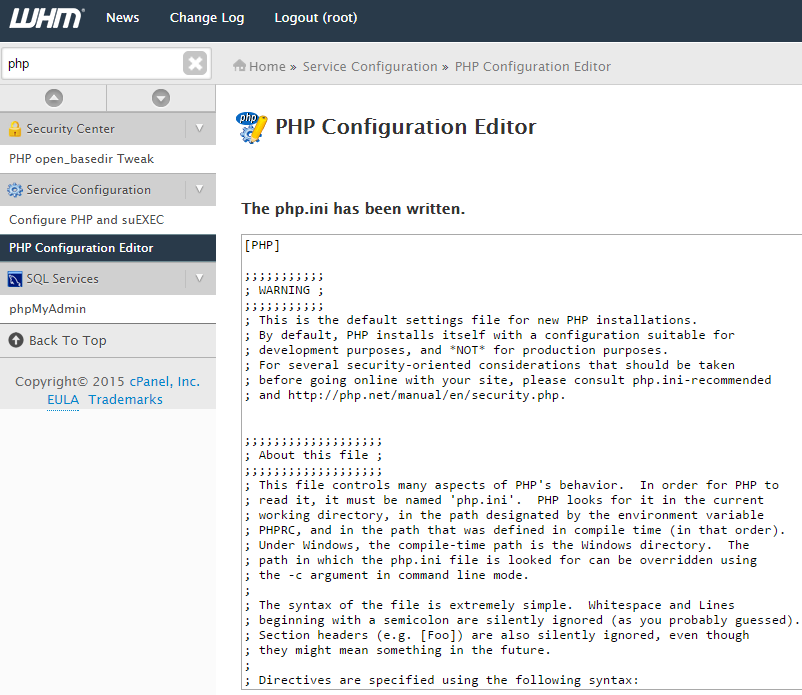
2. Alternatively, you can edit the php.ini file directly via SSH as a root user (only for self-managed VPS/Dedicated servers).
The global php.ini file is located in the /usr/local/lib/ folder. When connected via SSH run:
vi /usr/local/lib/php.ini
or
nano /usr/local/lib/php.ini
Once you made all the changes, save the file and restart the web server by running:
/etc/init.d/httpd restart
How to install and enable custom modules
If you require some specific PHP extension which is not included into the default PHP configuration, follow these steps to install it.
NOTE: If you have a fully managed VPS/Dedicated server, please contact our technicians for assistance with custom modules installation.
1. Log in via SSH to your server as a root user.
2. Run one of the tools for PHP extensions, for example, the pecl module:
pecl install extension_name
pecl install geoip
You should see the Build process completed successfully message in the end meaning that the process is completed.2. You can verify that it is installed and active by running the following command:
php -m | grep geoip
which should provide the result containing this extension name:
If some extension is not available for installation using this method, you should refer to its official documentation for installation guidelines.
You can also check official cPanel custom modules tutorials for EasyApache quick installation.
That’s it!