Error pages are displayed when a user enters a wrong/outdated URL or when one is not authorized to access a specific directory of your web space. cPanel allows you to customize the default view and adjust the way the error is displayed:
for cPanel paper_lantern theme
for cPanel x3 theme
for cPanel paper_lantern theme:
1. Log into your cPanel.
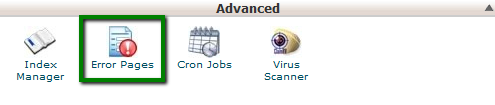
2. Navigate to Advanced section > Error Pages menu: 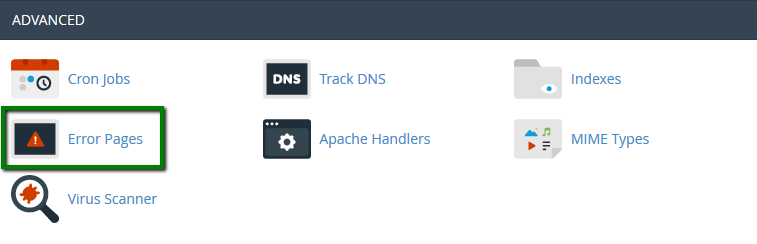
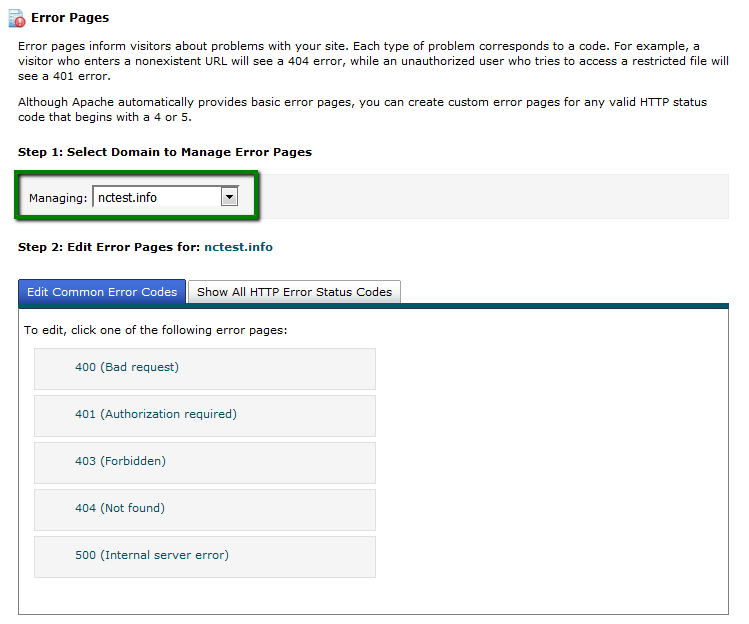
3. Select the domain name in from Managing drop-down menu and click on the error you wish to change: 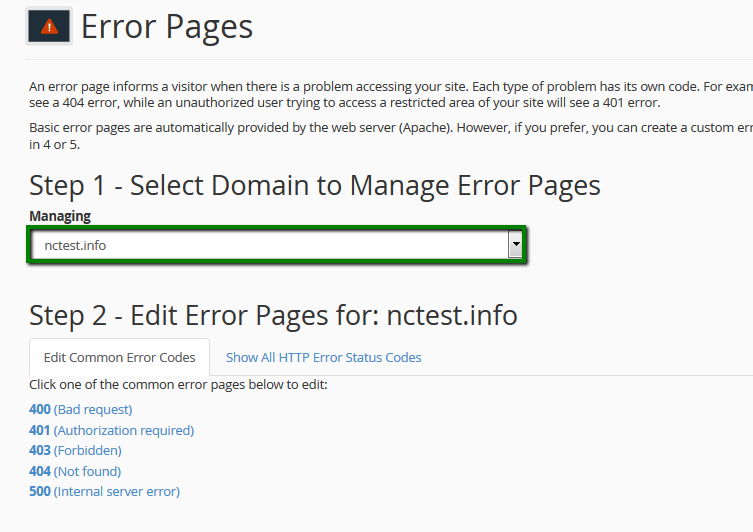
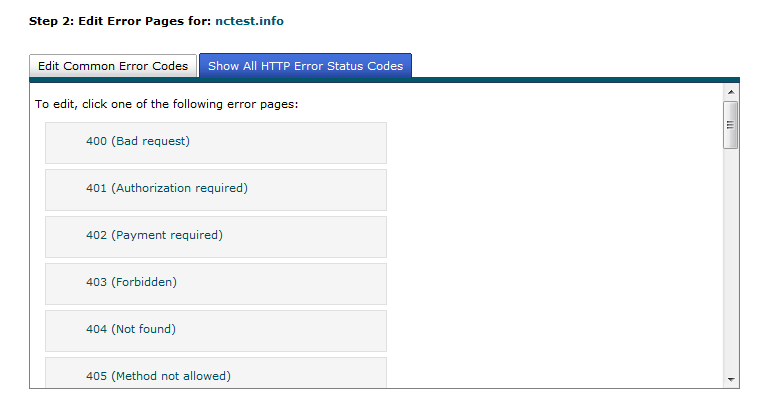
If you cannot find the needed error code in Edit Common Error Codes tab, switch to Show All HTTP Error Status Codes: 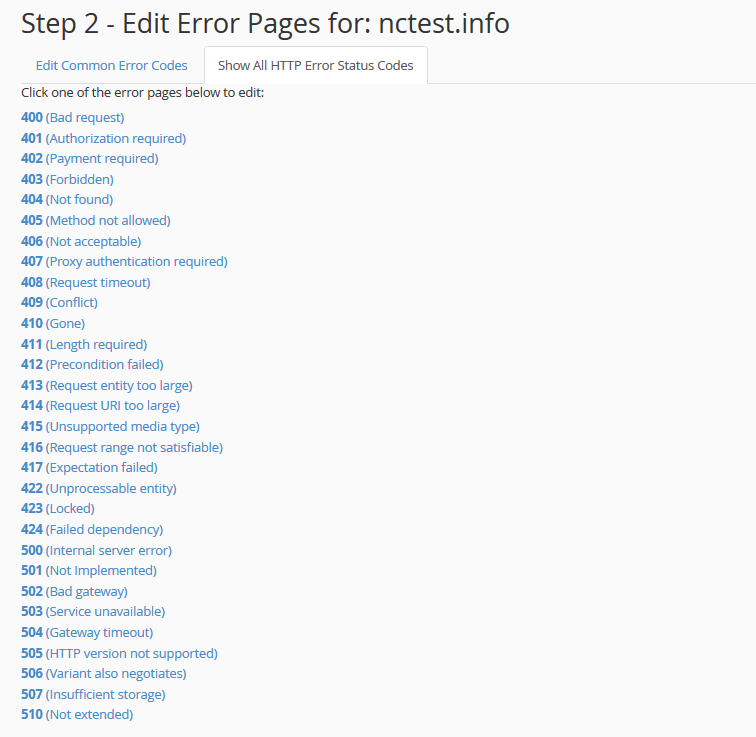
4. Once the error code is selected, you will be taken to HTML editor that provides the following tags:

Make sure that you Save the changes.
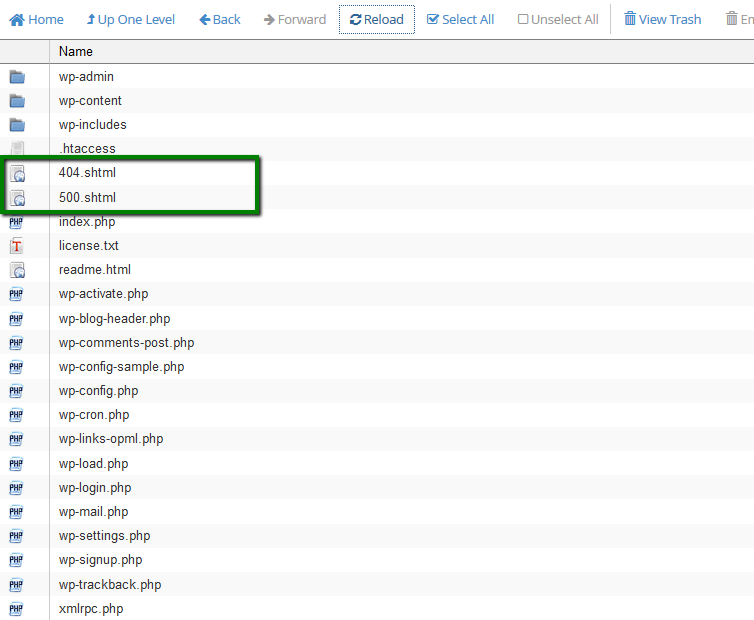
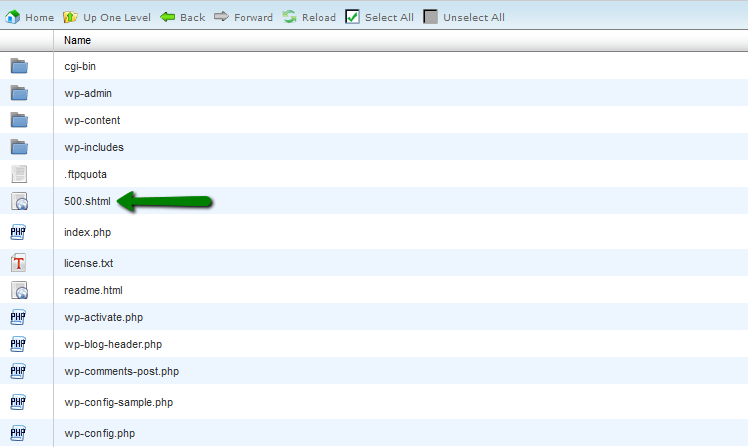
5. After that the .shtml file will be placed to the root directory of your website:
6. In order to connect .shtml to your website, you need to add the corresponding rule to .htaccess file.
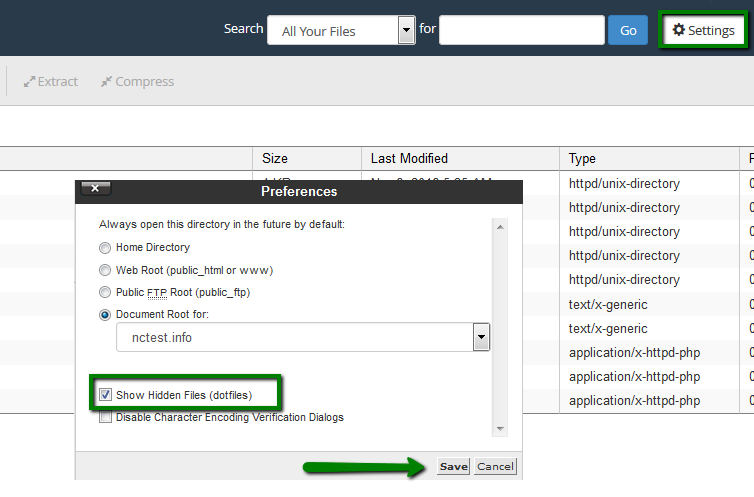
If you cannot locate .htaccess, enable Show Hidden files (dotfiles) option in Settings menu:
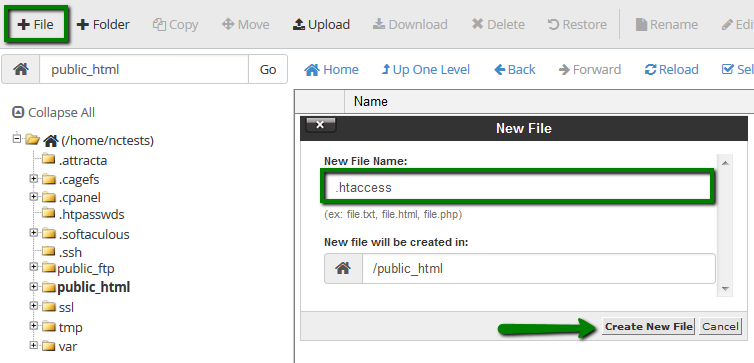
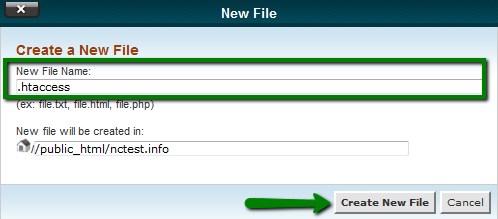
If there is still no .htaccess file in your File manager, feel free to create a new one using File option:
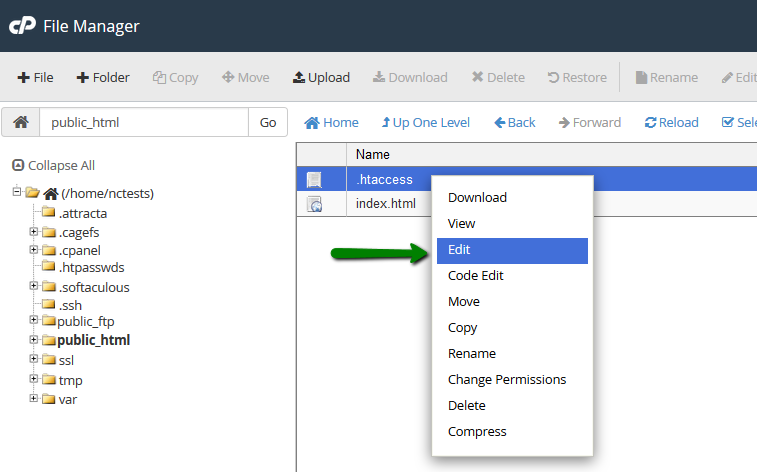
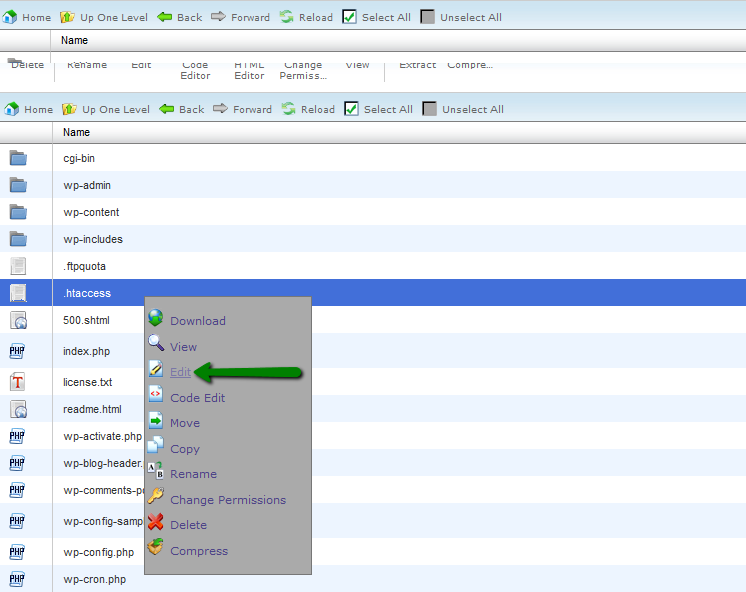
7. After that right-click on the file and use Edit option:
Add the following rule:
ErrorDocument 500 /500.shtml
Note, that error code and file name should be adjusted accordingly. For example, if you wish to connect 404.shtml, the rule should look like:
ErrorDocument 404 /404.shtml
for cPanel x3 theme:
1. Log into your cPanel.
2. Navigate to Advanced section > Error Pages menu:
3. Select the domain name in from Managing drop-down menu and click on the error you wish to change:
If you cannot find the needed error code in Edit Common Error Codes tab, switch to Show All HTTP Error Status Codes:
4. Once the error code is selected, you will be taken to HTML editor that provides the following tags:
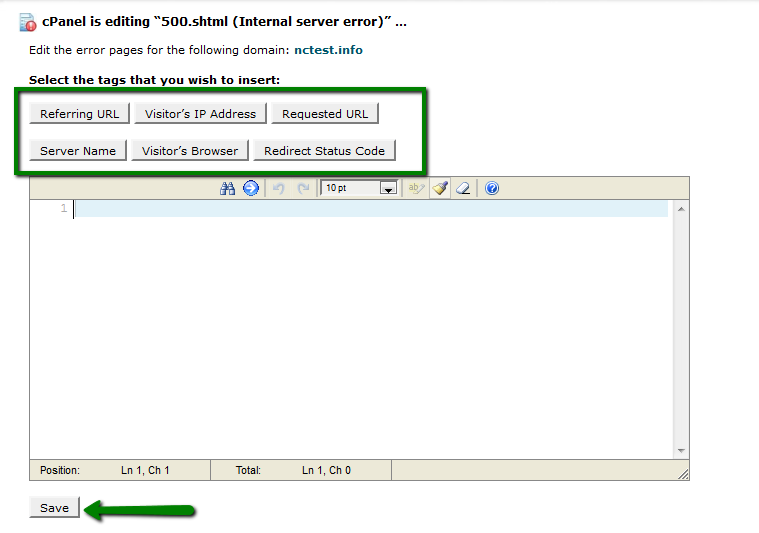
Do not forget to Save the changes.
5. After that the .shtml file will be placed to the root directory of your website.
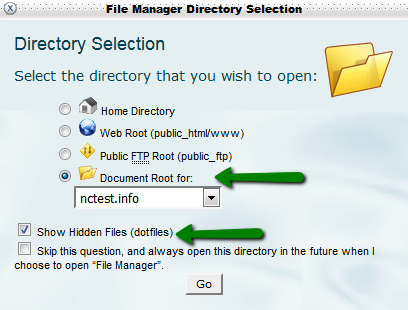
Move to File Manager menu in cPanel, select Document root for option and your domain from the drop-down menu. Make sure that Show Hidden Files (dotfiles) is enabled:
6. In order to connect .shtml to your website, you need to add the corresponding rule to .htaccess file.
If you cannot locate .htaccess file in your website root directory, feel free to create a new one using New File option:
7. After that right-click on the file and use Edit option:
Add the following rule:
ErrorDocument 500 /500.shtml
Note, that error code and file name should be adjusted accordingly. For example, if you wish to connect 404.shtml, the rule should look like:
ErrorDocument 404 /404.shtml
That's it!
Need any help? Contact our HelpDesk